Thursday, April 25, 2013

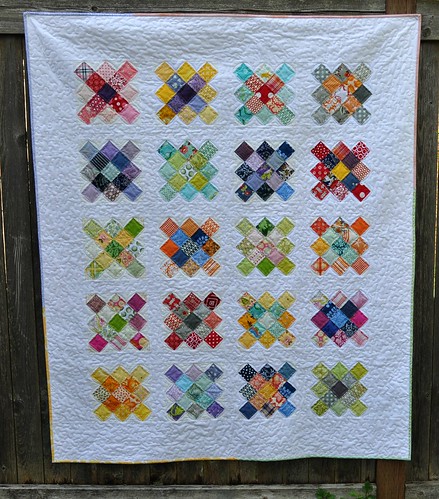
Granny Square Quilt, Finished

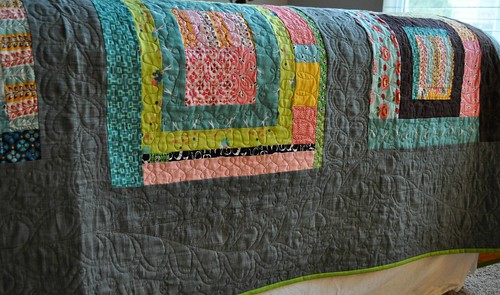
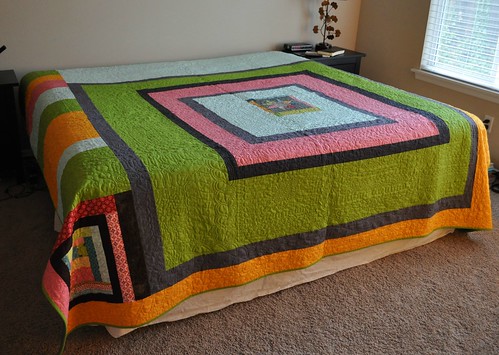
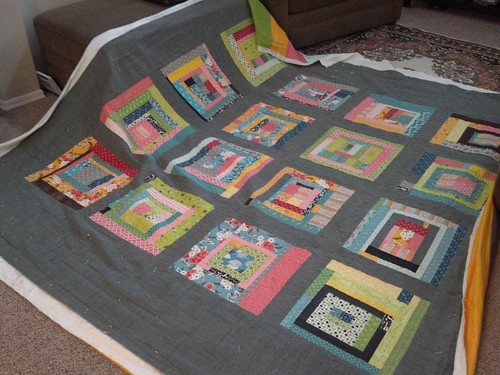
finished granny quilt 
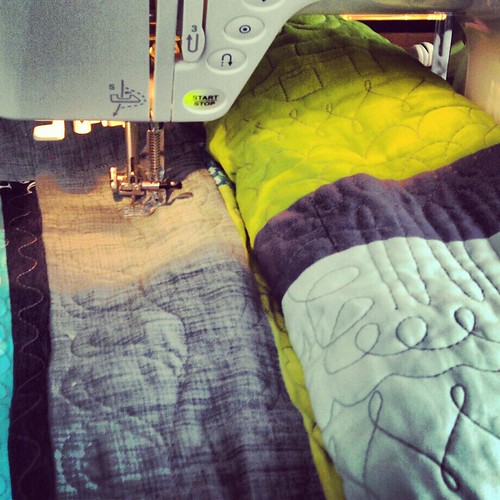
I finished this quilt a couple days ago. Maybe I should start keeping track of when I start new projects... this one took quite a while but I just made a few blocks at a time, and then used several of my blocks in my charity version of this same quilt. My sewing machine had a computer malfunction partway through quilting this. I was still able to quilt, but the computer screen is stuck on bobbin winding mode. I have a Janome MC4900... any other Janome users have this problem? It's been at the shop for a few days and I'm waiting to hear what the damage will be.
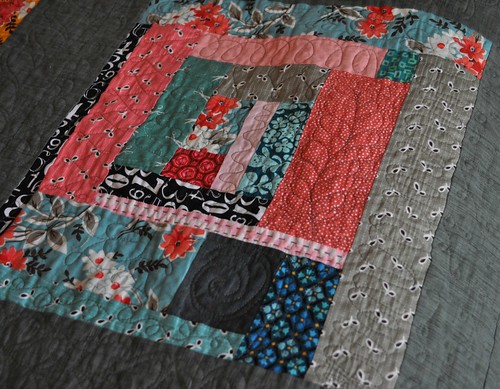
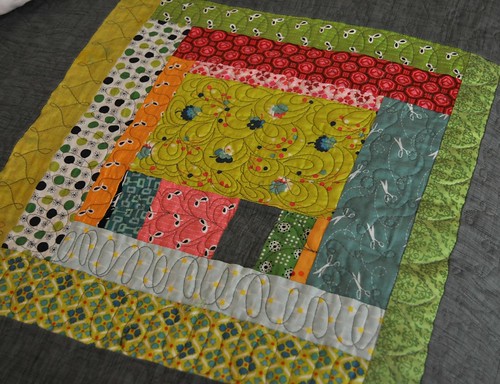
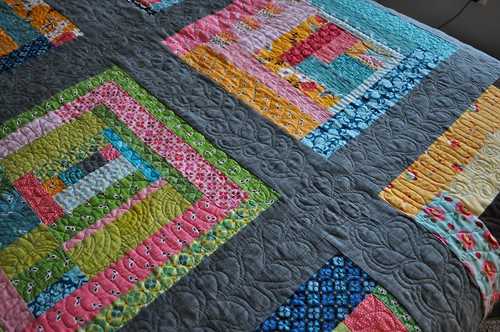
granny quilting detail 
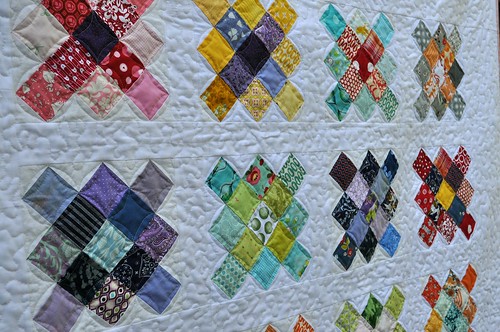
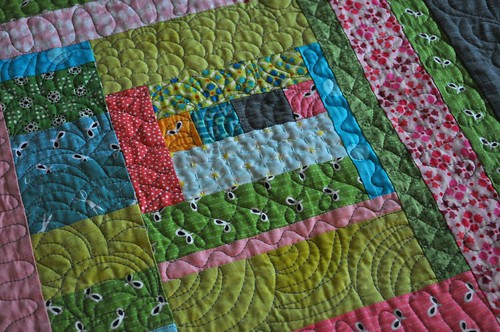
I free motion quilted a curvy corner-to-corner thing on all the squares, and then did a simple stipple in all the background space. We went to Utah for spring break earlier this month and my mom let me bring home her Juki for a while, so I finished the quilting using that machine. I am liking the Juki, it's so fast!


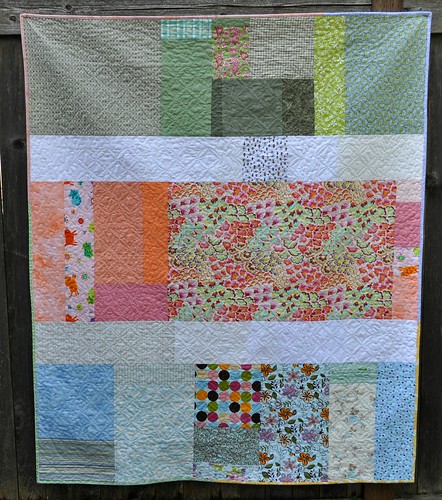
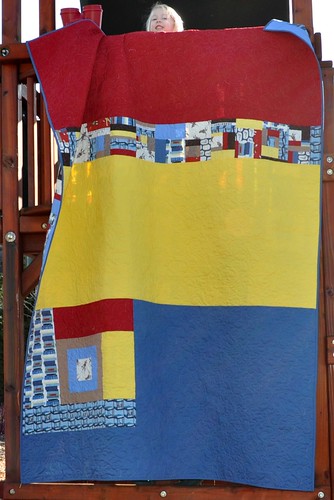
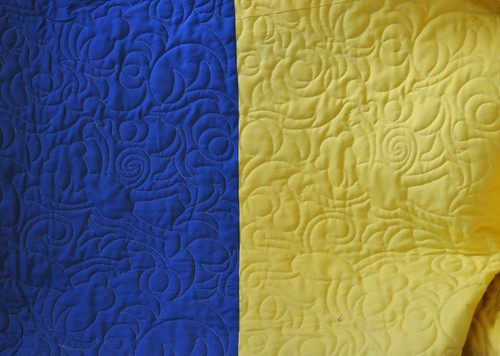
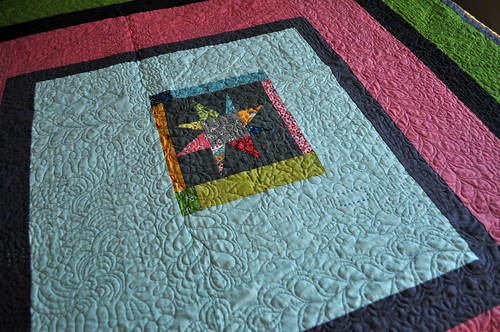
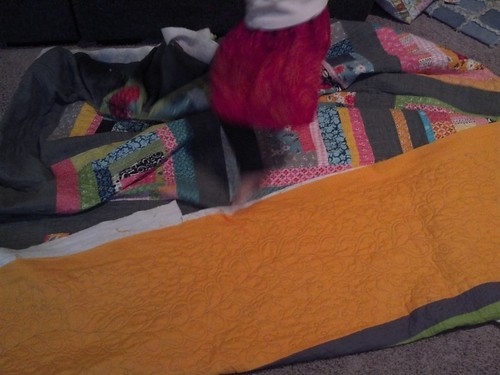
And here's the back. I started with the pink/orange section in the middle, I wasn't thinking of anything I could use that Amy Butler piece for, and then used a few other fabrics I am ready to be done with to make it wide enough. Then the green... the remains of some of my very first quilt shop fabric purchase are in that chunk. I have moved on from the dusty sage green love of the late 90s, for sure. After I finished up the green, I thought I was going to use a black and white Chinese character fabric for the rest of the back but it wasn't meant to be so I put together another section made from blues and then separated the 3 colors with white/white-ish 6.5" strips.

The binding is 4 colors--aqua, pink, purple, and yellow. I was going to do it all with the aqua/green Heather Bailey bead fabric but it would have used it almost all the way up so I mixed it up a little bit.

Thanks to Blue Elephant Stitches for the Granny Square Quilt tutorial and to traceyjay quilts for the setting triangles directions!

Wednesday, April 03, 2013

Bee Blocks

I've finished up my March blocks for do good stitches (because I'm doing all of them on time this year)

March believe block 1 
These were the easiest bee blocks ever. They are 12.5 inches, not small at all.
March believe block 2 

And I'm in charge for April so I have those ones done too. I'm requesting scrappy trip along blogs in red, yellow, and blue with your choice of neutrals (white, off white, tan, brown, whatever looks good). And an obviously dark or light strip down the center. 
April block 1 
 (Since I had to use that diagonal stripe in the above block, I decided green is ok too.)

April block 2

Thursday, March 28, 2013

Easter Dress 2013

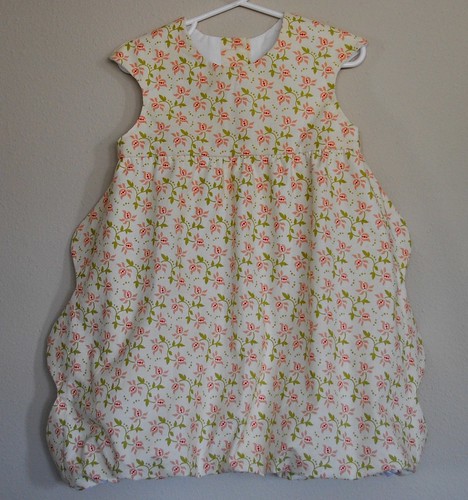
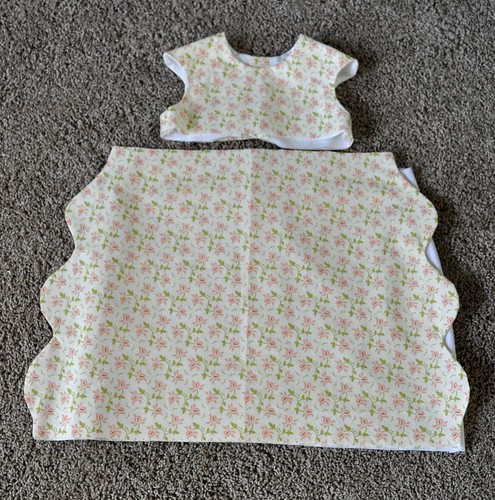
I finished up my daughter's Easter dress last night. Actually I didn't try out the buttons and it turns out I had to remove one and resew it because it wasn't placed quite right. So I finished it this morning.

Easter dress 2013
This fabric is hard to photograph just right in my house; I'll try to get some outdoor pics when she's wearing the dress on Sunday.

I used the Oliver + S bubble dress pattern. It went together fairly easy, and I'm happy with how it turned out. I made the size 3 with the skirt the length of the 4, but it's still pretty short on my daughter. 

When I broke my finger last summer, making this dress for my girl was one of the things I daydreamed about at the very beginning. (I had to wait a week between the injury and the surgery so there was a lot of serious pain going on, and laying in my bed, and hardly any sewing for a few weeks.) I'm glad to have it done and will probably make another one. Maybe I'll try one without the side seam scallops next year.

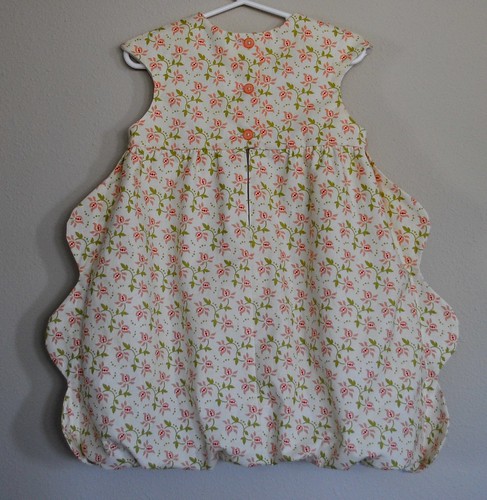
Here's the back:

2013 Easter dress back

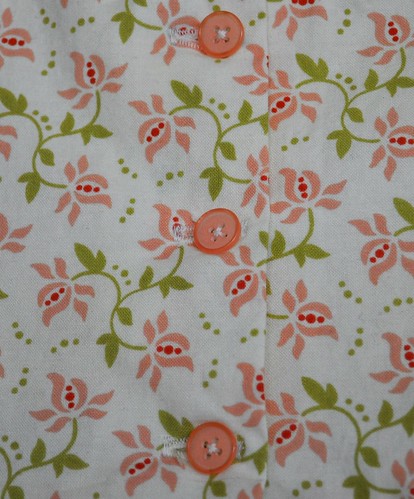
I have a little baggie in with my sewing notions and found the perfect buttons in there. I have no idea what they were originally bought for, but they match the flowers in this fabric just right.

Easter dress buttons 
P.S. I love automatic buttonholes. They are the only thing I unplug the foot control on my sewing machine for.

Monday, March 25, 2013

Craft Tree: Just for Kids

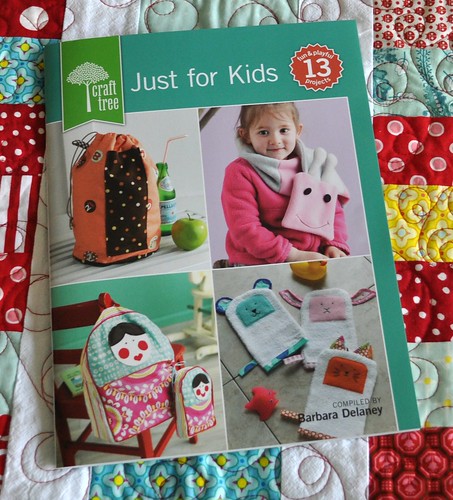
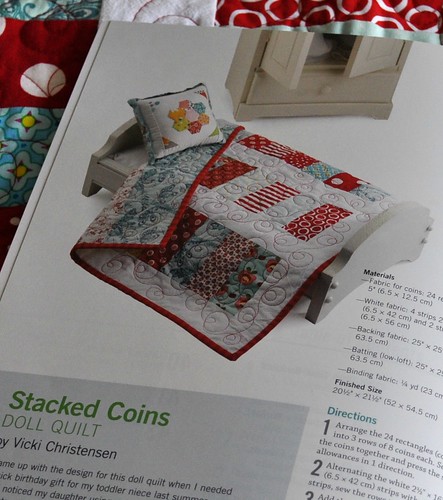
Last week I got my copy of the new booklet, "Just For Kids"--it's a compilation of 15 sewing projects for kids, published by Interweave.
just for kids

My Stacked Coin Doll Quilt is the first project in the book. :) I love those puppet/washcloth mitts on the cover too.

I'm thinking about making a couple more of these small quilts for an ongoing charity project through my local quilt guild.

just for kids2

There are several other booklets in the Craft Tree series and I was told they will be available for purchase at big box craft/fabric stores...not sure if they're there yet though. For now you can buy them here.

Friday, March 22, 2013

What I'm Working On

I've been working on a few different things the last couple weeks:

L's Easter dress. I'm using the Bubble Dress pattern by Oliver and S. It looks cute so far (and no sleeves makes it a bit easier, too.) I'm excited to see how it looks with the skirt "bubbled".
bubble dress in process

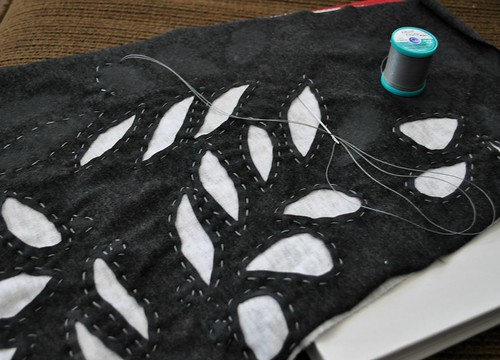
My Alabama Stitch (affiliate link) skirt . I've wanted to make one of these for so long, and I'm glad I finally actually got started on it! I was hoping this would be ready for me to wear by Easter; it might not be. It's coming along, though.
Alabama stitch reverse applique 

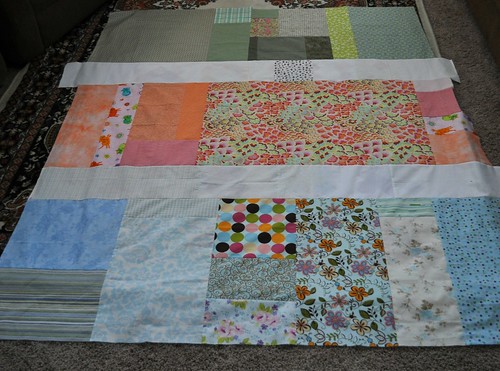
And my granny square quilt back.
granny square quilt back


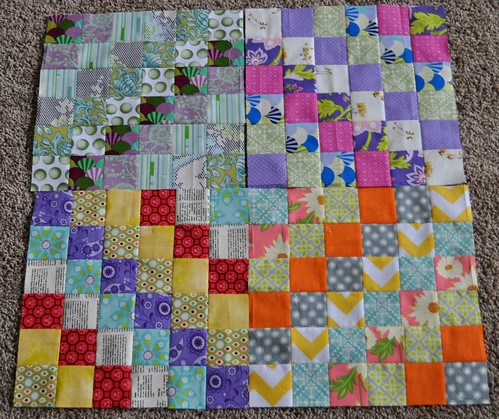
I ended up doing something totally different than I thought I would do. I started by making the orange/pink section. I wanted to use up the Amy Butler peacock feathers fabric (too multicolored!) and found some of my older orange and pinks to put with it and get them out of my stash. Then I made the green section, again using several older fabrics. Some of those are from my very first quilt shop fabric purchase back in 1997. Not so much a fan of the muted sage green these days. After I finished the green and orange sections I thought I was going to put a big (whole) piece of fabric in between them, but that didn't seem right so I made a pieced blue section too. And then separated the sections with pieced white/light strips.

I'm not too far out on finishing the Easter dress and I'm plugging away on my skirt. Hope to have a finish to share here soon!


Saturday, March 16, 2013

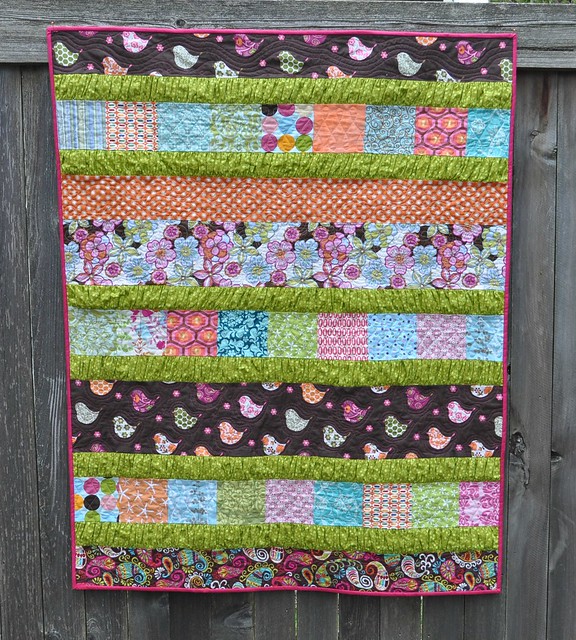
Birdie Ruffle Crush Quilt

I have a new baby niece and I finished up her baby quilt a few weeks ago. I finally got it labeled and sent off to her, and now I can share it here.

birdie ruffle crush quilt 
I used my Ruffle Crush quilt pattern to make this quilt. My sister-in-law chose most of the fabrics--I pulled the small squares from my stash and from the leftovers from her other daughter's quilt. There's even a piece of the striped fabric from her son's quilt in this one, too. The binding is Kona pomegranate.

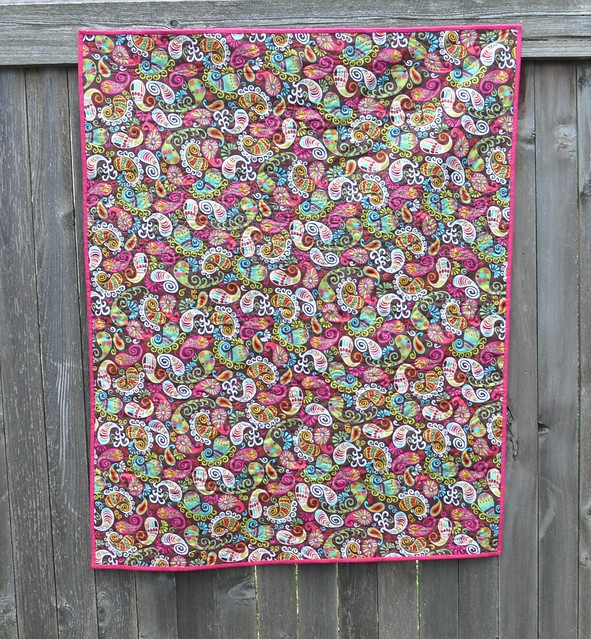
The back is just one fabric this time. 
ruffle quilt back 
I sewed the ruffles on this quilt with my ruffler foot and it was challenging to keep the non-ruffled segments of the quilt straight and square that way. It turned out ok, but I think when I make this quilt again I will do the gathers by hand, in order to have a quilt with all right angles.

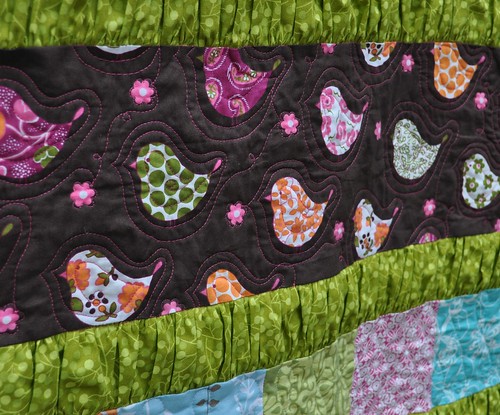
birdie quilting detail
I did echo quilting around the birds in this section.

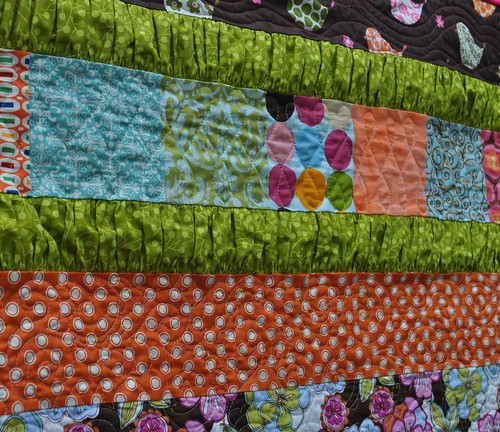
birdie quilting detail 2
And figure-8 loops in the pieced strips and swirls in the orange dots.

You can find the Ruffle Crush Quilt pattern in my Craftsy shop. If you make one, I'd love to see it.


Follow on Bloglovin

Friday, March 15, 2013

Claiming

I still think the big G will reverse their position on reader... but I'm switching anyway. 
Follow my blog with Bloglovin

I have a quilt back and front to show you, and tomorrow will be cutting out an Easter dress for L and a skirt for me. Hope you have a great weekend!

Sunday, March 03, 2013

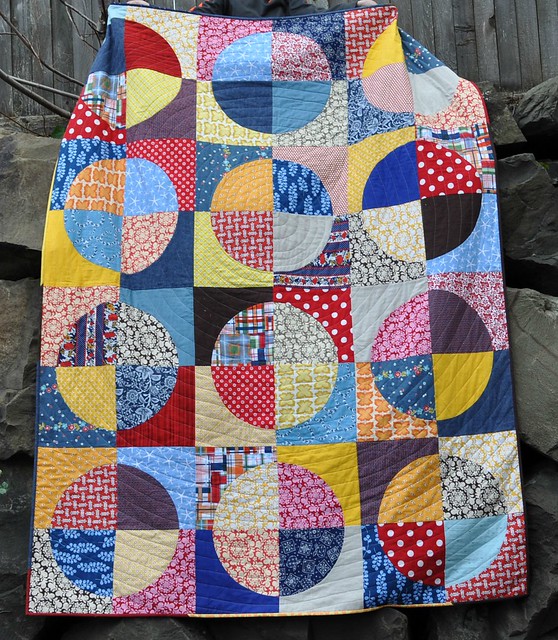
Finished Circle Quilt

Yesterday I finished up the binding on my circle quilt. I am trying to make a dent in my UFOs and am glad to have this one done.
finished circle quilt
(my helper's arms were not quite long enough to hold the quilt out straight; it's a big quilt)

The quilt is 60" x 80", and I quilted it in a spiral, mostly using my walking foot. I had some issues with the layers shifting, even with the walking foot and having the presser foot pressure loosened. Part way through, I undid the remaining basting pins, smoothed the layers out again, and rebasted it, with the pins closer together than the first time. Then I loosened my presser foot pressure a little bit more and started quilting again. It went better after those changes, but there was still a little bit of minor shifting.

The center of the quilted spiral was quilted last, with my free motion quilting foot. I was really nervous about how that would go, but I was able to quilt it more smoothly than I expected.
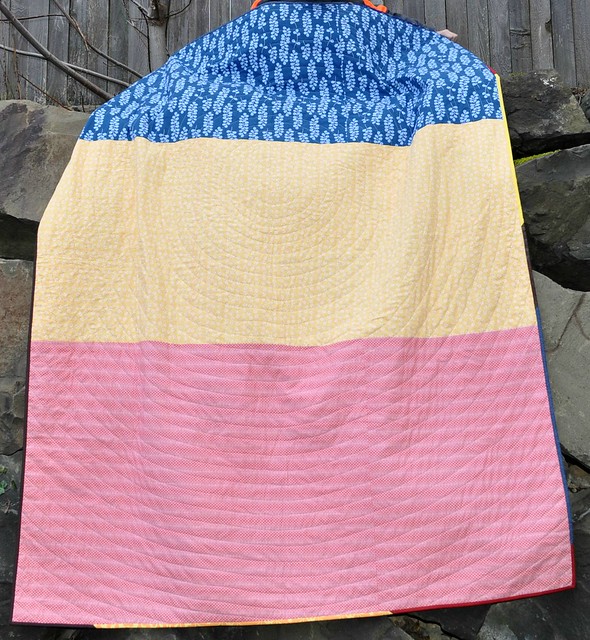
circle quilt back
The back of the quilt is pretty simple with red and yellow fabrics I got from Connecting Threads, and blue kelp I got on sale a while back.

Most of the binding came from my binding scraps (I had a lot of brown) and I added some red, yellow, and blue fabrics. It was nice to have most of the strips cut and pressed already. 

This is my second circle quilt; my first one was a baby quilt made for my niece in 2010. When I made that quilt I wrote a couple of tutorial blog posts about designing your own circle quilt and drafting the patterns/templates for this block. Back then, I also promised a "how to figure yardage" post... and then I never wrote it. So I'm thinking I will go ahead and write that soon--let me know if you think it's something that would be helpful!

Monday, February 25, 2013

Modern Basics II Blog Tour


Hi everyone! I’m happy to be a part of the blog tour for Amy Ellis’s new book, Modern Basics II. Amy and I have been friends for a few years—I love her quilts and I know she works really hard on her books and other creative endeavors. Amy blogs at Amy’s Creative Side and she is probably best known for the twice-yearly Blogger’s Quilt Festival that she hosts at her blog, along with her first book, Modern Basics. Modern Basics II is a wonderful follow-up to her first book, and includes patterns for 14 beautiful quilts. 

This quilt is called Confetti Crossings. I love this quilt with the warm spring-y fabrics alternating with bold "X" blocks.

Confetti Crossings is made with two different blocks, a 16-patch and a graphic “X” block made from half square triangles. Amy has included instructions for making this quilt in two sizes so you can make a large bed size quilt (93” x 93”) or, if you prefer, a throw quilt (56” x 68”). I think this quilt would look great with a few varying blacks and whites for the X blocks and then total scrappiness for the 16 patches. Or—you could flip the color scheme and make black and white checkerboards for the 16 patches and then use different bright colors with white for the X blocks.

Amy’s asked us to share about a favorite quilting tip or tool. One of my favorite/essential quilting tools is the Kwik Klip. 

I always pin baste my quilts, and I use my Kwik Klip to close the pins. (You just hold the safety part of the safety pin with one hand and use the Kwik Klip in your other hand to push the pointy end of the pin into the safety cap.) It’s fast and easy and saves my fingertips from getting poked and scraped by all those safety pins.

You can visit all the blog tour links below, starting today, to learn more about the quilts in Modern Basics II.
 

Then visit this link and complete the form to enter to win an electronic copy of Modern Basics II. There will be 15 winners, and Amy will contact them on March 4. Good luck! 

Friday, February 22, 2013

Quilt blocks + Quilting

I've been working on several different projects at once. Honestly, it's making me a little crazy. So I'm going to focus on finishing some things that are almost done... I have one quilt ready to bind and another that is partially quilted, and once those are done I think I'll feel ok about starting an Easter dress for my girl.

This past week I made my February blocks for do good stitches:

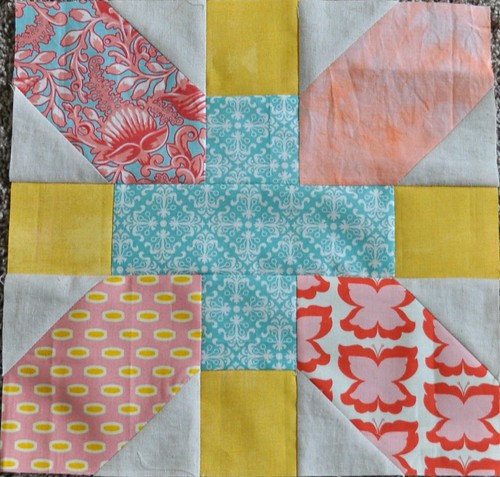
xplus 1


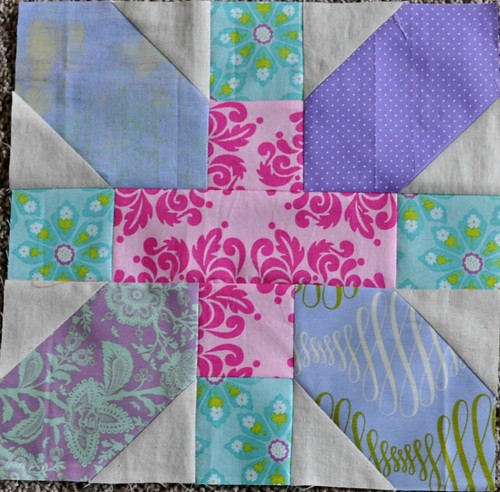
 xplus 2
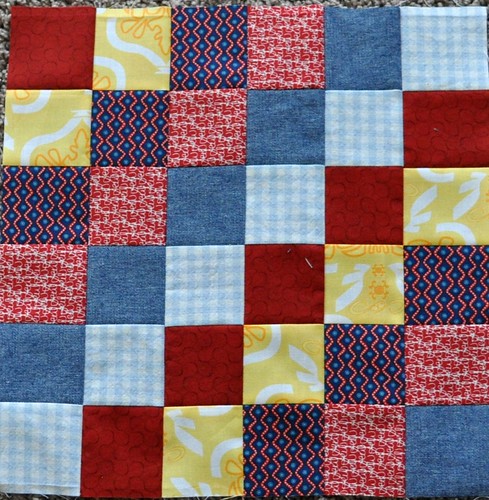
These blocks were made with Amy/badskirt's tutorial but using different measurements to create a 12.5" finished block. My 12-year-old gave me the colors for the top block and the second block is colors my daughter chose. These blocks are very easy to make but the linen blend I used for the "triangle bits" is fiddly, stretchy, and complicates it a little bit.

And I've started making some scrappy-trip-along blocks. These are fun and so quick:

scrappy trip block 1-4 
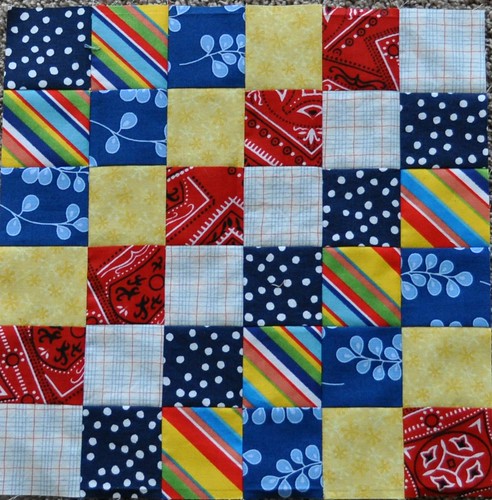
So far I'm just planning out each block as I go.  The instructions for making this are here; you should give it a try!

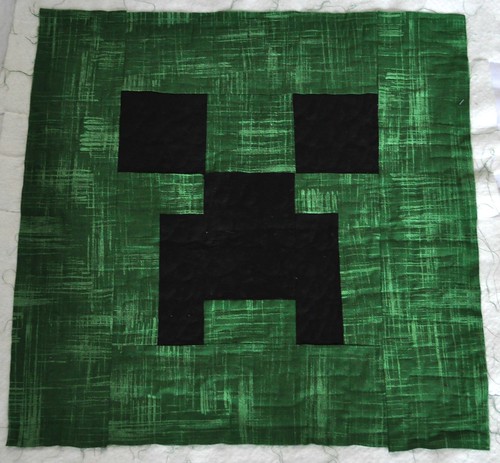
And today I machine quilted this creeper for my son (he made it and pin basted it a while ago):
quilted creeper
The quilting is pretty much invisible. He wanted me to use green thread on the black parts and black thread on the green, but we had a miscommunication on that so it didn't turn out quite how he wanted. I quilted a squared-off meander with a few square loops in the green, and cursive letter S's in the black. Apparently that's what this creature says. Now that the quilting is done I'll help my boy make the pieces for the pillow back and put it together. 

I have some quilting and binding ahead of me and then I'll have a couple finished quilts to share. Have a good weekend!


Sunday, February 17, 2013

Finished Monkey Quilt

I'm happy to share another finished quilt!
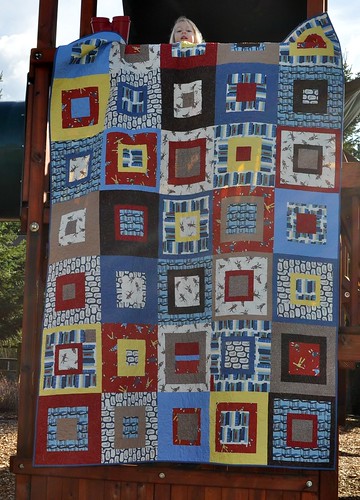
monkey quilt 1 
I finished the top a while back, and sent it to Natalia for quilting a few weeks ago.
 monkey quilt 2
After it came back, it took me a little while to get the binding complete, as I was working on finishing up my king size quilt.

It's too big to get a good photo on the backyard fence (it's about 65" x 90"), so my girl and I went to the playground down the street to take photos. I didn't take clips or anything, she's holding it up by herself in these pictures and I was hurrying fast to get the photos.

Here's a closeup of the monkey quilting done by Natalia:

monkey quilting closeup 
Isn't it cute? Can you see the bananas? 

I'm going to be finishing up at least one more quilt this week, and I'll maybe do another "quilt blocks" blog post seeing as how I started a scrappy trip-along quilt this past week. My kids have no school this week so we're planning some day trips and hope to keep everyone busy and happy. Hope your February is going well!

Wednesday, January 30, 2013

Completed King Size Quilt

This past week I finished up the binding and hand quilting on my king size quilt. I was hoping to be able to take photos outside but I need helpers, dry weather, and good light all at the same time to make that happen, and that might not be possible for a while. So for now, here are photos of it inside.

king quilt 1
I had to look at photos of the finished quilt top to remember which way I had decided was the top.

The quilt consists of 16 improvised log cabin blocks that are near 16" square. I used flea market fancy fabrics and other fabrics that coordinated with the FMF. The fabric used for the sashing and borders is Moda crossweave. 

I machine quilted the quilt on my Janome QC 4900. There are a few pops of hand quilting too. The main trick for machine quilting this quilt (around 96" x 104") is to not put all the batting in at first.

*For my first chunk of quilting on this quilt, I pin basted a piece of batting that was as wide as the two center rows of blocks, plus about 4 inches on each side. Depending on the design of the quilt, it would be good to try to divide the quilt into thirds and put the middle 1/3 of batting in to begin with.
*Then I machine quilted that section, leaving the 4 inches on each side, and the borders, unquilted.
*Next I attached batting to one of the sides, pin basted the batting in, and quilted it. (But not the borders.) This tutorial of mine shows how my grandma taught me to piece batting and that's how I attached the batting during this process.
*Then I attached the batting to the other side and quilted the blocks and sashing on the other side.
*The final step was quilting the whole border, which wasn't really difficult at all because I didn't have much quilt to the right of my sewing machine needle.

Here are a few close-ups:

king quilt detail 1
I quilted feathers with echo stitching in the sashing and borders. In the borders, the space around the feathers is quilted with small loopy quilting. I thought about doing something fancier, but decided to make it easy on myself at that point.

king quilt detail 2
I like the pink/blue/gray color scheme of this block.


king quilt detail 3 
I quilted this block after I learned to do the clamshell/paisley quilting design.

king quilt detail 4 
The feathers and the flowers I put in the feather intersections show up pretty well here.

king quilt detail 6 
This one has a lot of texture, plus it shows one of the little hand quilted spots in the quilt.

The back of the quilt:
king quilt back 1 
Mostly kona solid fabrics, with a couple of extra blocks. We can reverse it if we get tired of the front, I suppose.

A closer view of the little block in the center of the back: 
king quilt back 2 

I'm really happy to have this project completed and on my bed! I'm not sure I'll make another quilt this big for quite a while, but I'm glad I made this one and I feel like I learned a lot along the way. 

Other blog posts about this project:
http://www.sewinspiredblog.com/2011/05/blocks-flea-market-fancy-improv.html
http://www.sewinspiredblog.com/2011/05/improv-block-progress.html
http://www.sewinspiredblog.com/2011/06/last-3-blocks.html
http://www.sewinspiredblog.com/2011/06/king-size-quilt-top-finished.html
http://www.sewinspiredblog.com/2013/01/machine-quilting-king-size-quilt.html

Friday, January 18, 2013

Machine Quilting a King Size Quilt

The last couple weeks I've been pushing hard to finish up my king size quilt. I made the quilt top in the spring of 2011 as part of a Naked Bed Challenge on twitter. I got the quilt backing made soon after we moved into the house here in Washington, at the end of 2012. (I don't think I've taken a picture of the back yet, though.) I started the machine quilting at that time too, but lost steam on it and put it away for a while. Then, I was getting all gung ho and ready to finish it up around the end of June, right before I hurt my finger and had to take an extended break from sewing.

So anyway, finishing the quilt is on my sewing list for January, and I'm getting really close! I've been taking photos and posting them to instagram as I go; if you are on instagram and want to follow me, my username is VickiDJL. Here's a recap of the last few days of work:


Quilting a feather in the sashing. 
Machine quilting 

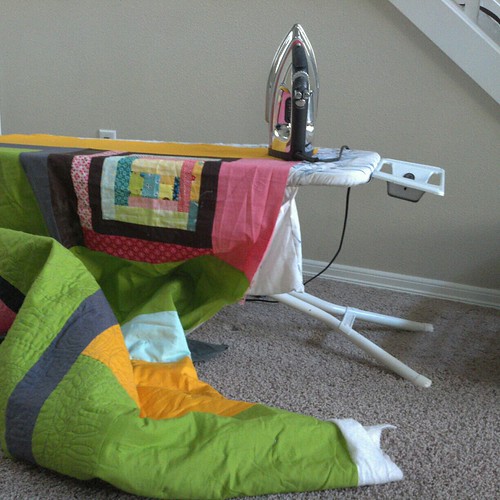
Ironing the quilt back to prepare for adding in the last section of batting. I lowered my ironing board to about 18" tall to do this. It was silly. I'll explain how I did the batting more completely when I blog about the finished quilt.
 silly, huh? 

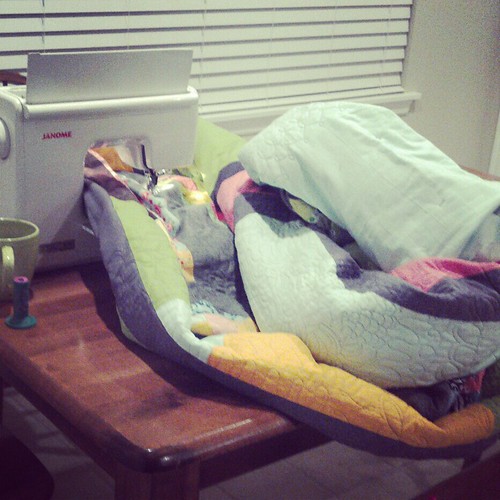
Quilt all rolled up while I was quilting the last section of quilt blocks (the green mug is my thread stand):
 quilting a king size quilt 

Center section all quilted, borders still need to be quilted: 
 just borders left to quilt 

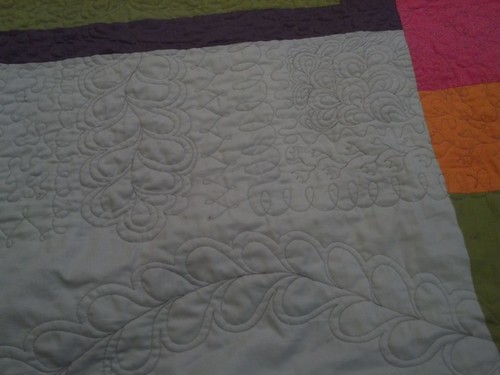
Reverse view of some of the quilting. The big feather at the bottom is part of the border: 
 machine quilting 

More of what the border quilting looks like, from the back: 
machine quilting, reverse of border 
The border fabric on the front and thread are both gray and the quilting doesn't show up well, especially in the evening after the sun has gone down. So I flipped over the border for this picture, and then had a dancing girl who wanted to be in the photo too. If you look closely, you can see the loopy quilting I'm doing as filler around the big border feather. 

I have all the border feathers finished, and just need to finish adding in loopy filler quilting on two more sides of the quilt, and then the machine quilting will be done. There are a few more sections of hand quilting to do, then binding and labeling, and then it will be completed!

Tuesday, January 15, 2013

New Year Sewing

I've been busy sewing the last couple weeks.

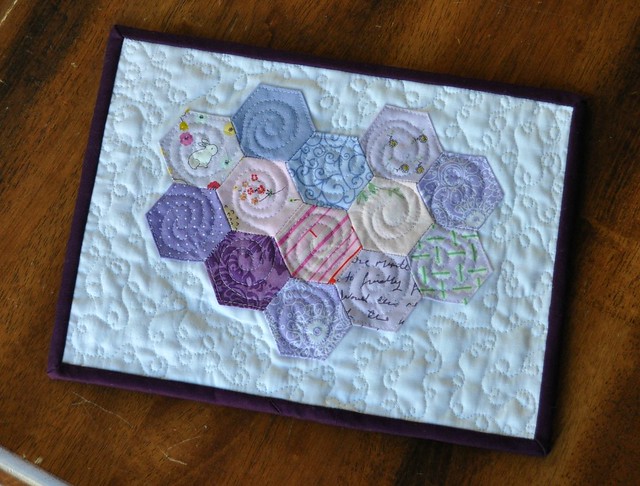
I finished this mini heart hexagon quilt:

hexi heart quilt 
This is going to be sent to the Alzheimer's Art Quilt Initiative. I'm planning to make a couple more quilts for them in the next few weeks and then send them all in together. If you haven't made a quilt for AAQI yet, think about it. They sell/auction mini quilts to raise awareness and to fund Alzheimer's research, and they accept quilts no larger than 9" x 12" so it's not really a big commitment to make a quilt and help them out.

****
I already finished my do good stitches blocks for January. Crazy, huh?

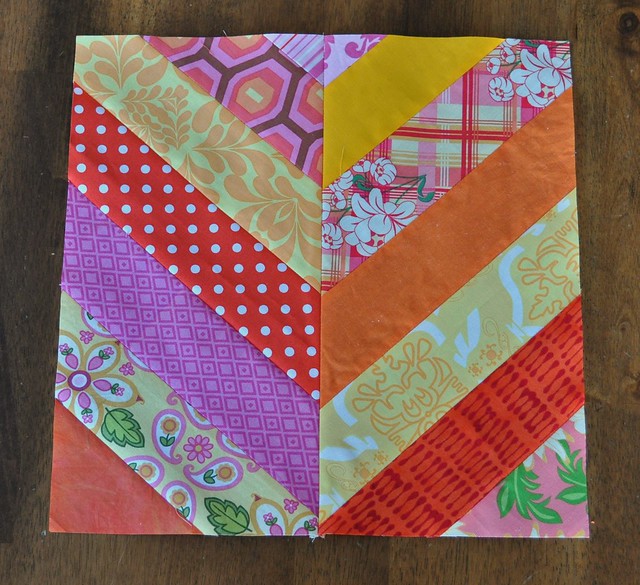
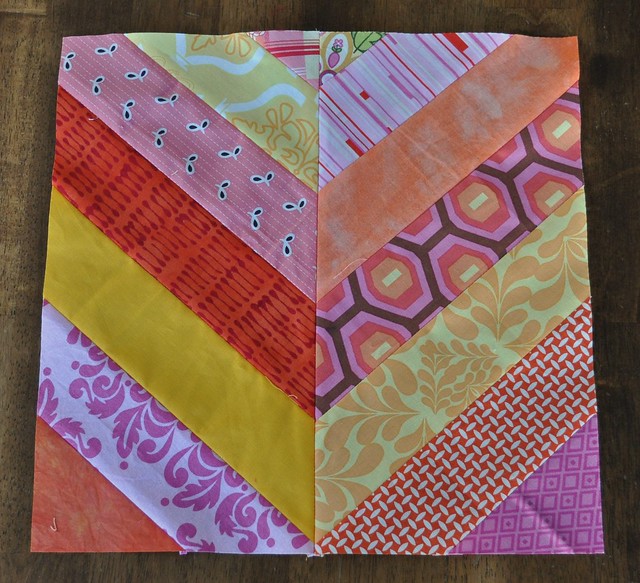
chevron block 2

chevron block 1
 These chevron blocks were made using the herringbone block tutorial from Bijou Lovely.

A couple of other small things:

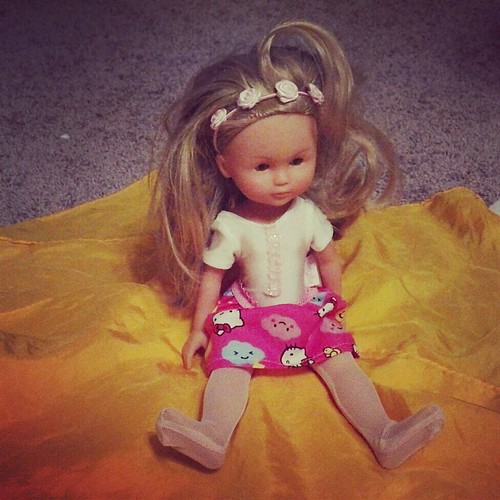
new skirt for Molly 
My little girl helped me make this skirt for her doll, Molly. (She pushed the foot pedal on the sewing machine.) I have "1 or 2 doll clothes items" on my January to-sew list and this was fun and quick to make. 

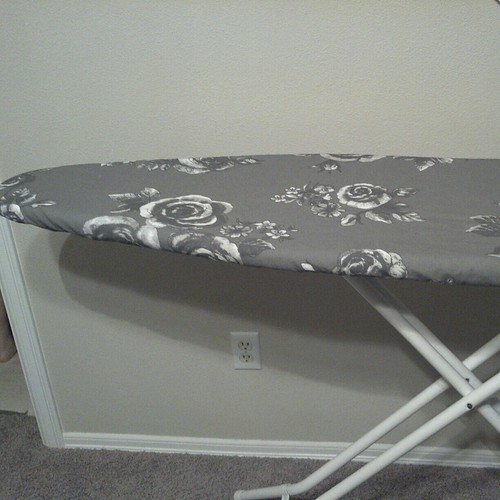
new ironing board cover 
And we had been needing a new ironing board cover for a while. I got the fabric at Ikea a couple weeks ago. I used an old towel (trimmed and edges zigzagged) and one layer of cotton batting (scraps I sewed to fit the ironing board) for the padding. I looked at this tutorial on Moda Bake Shop and decided to follow the method described there for finishing the edge and making a casing (even though I didn't make a quilted top like they did there). I just used kitchen string to adjust the cover to fit; it worked great!