
1. Cut your cape body piece 30" wide and 26" long. Cut your neckband piece 22" long and 3" wide.
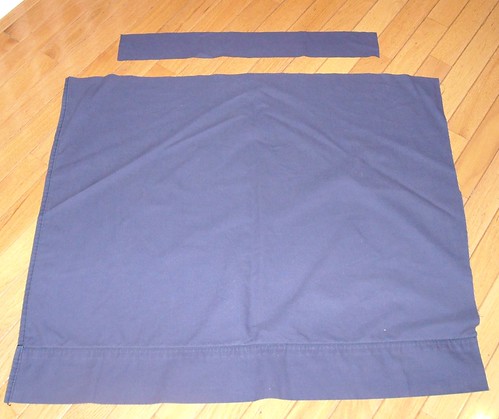
2. Hem three edges of your body piece, leaving the top unfinished. I used the existing side and bottom hems of the bedsheets when possible.
Fold the neckband piece in half lengthwise and sew across the short end, turn the corner and sew up the length of the band for 1-2 inches. Do this on both ends of the neckband, then trim your corners.
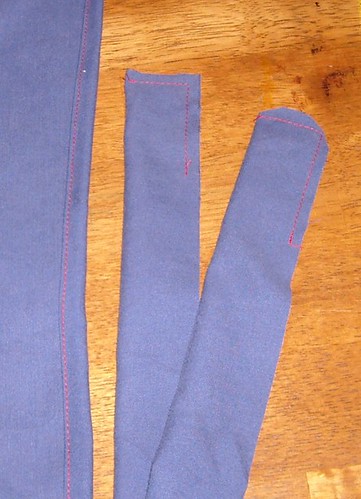
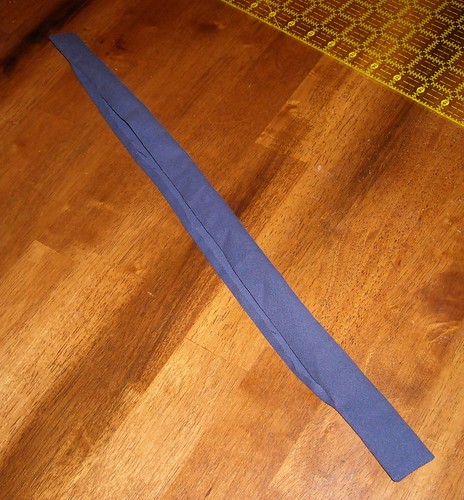
3. Turn the ends of the neckband right side out, poke out the corners so they are nice and square, and press. I also pressed one of the remaining unsewn edges under 1/4". (I don't know, it might be better to press them both but I got good results this way.)
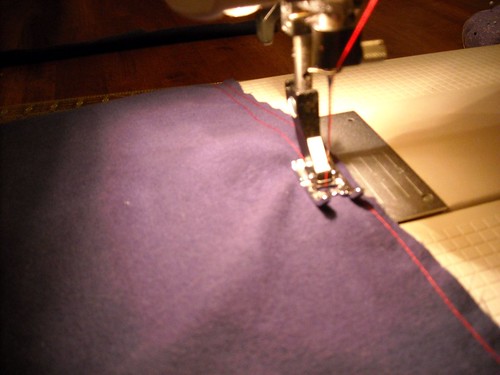
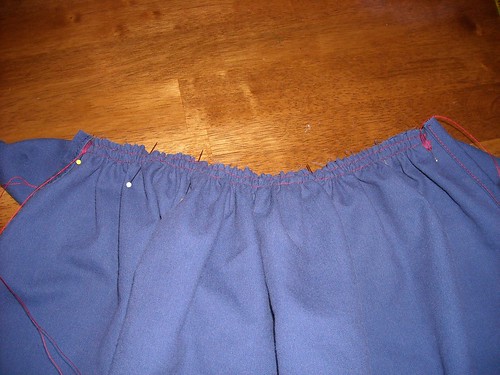
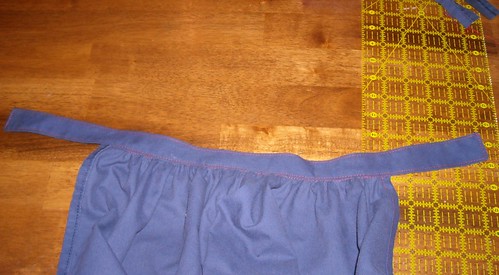
4. Sew two rows of gathering stitches on the unfinished edge of the cape body. For more explanation on gathering, see here (scroll down to steps 12 through 16).
5. Mark the middle of one edge of the neckband and the middle of the cape body piece with straight pins.

6. Pin 'em together, matching up the centers.

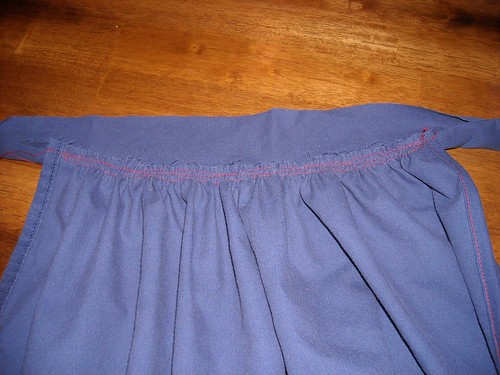
7. Gather. Once I had gathers pulled up on each side of the center pin, I adjusted them so the cape body was gathered up to be about 6 inches long on either side of the center. Then, on each side, I pinned the edge, adjusted the gathers to spread them out and make them nice and even, and pinned some more.
8. Make sure you shorten your stitch back up, and sew the cape body to the neckband, stitching in between the two rows of gathering stitches. Remove the lower row of gathering stitches.
9. Starting in the center, fold the open edge of the neckband piece under 1/4 inch and pin the folded edge down right over the neckband/cape body seam.
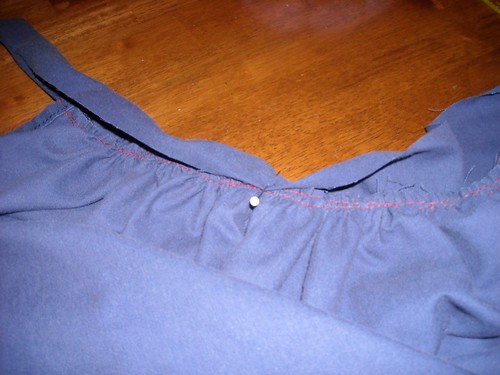
10. Continue folding the raw edge and pinning it down. The pins need to be fairly close together. This is probably the most fiddly part of making this cape. At the same time you are pinning the free edge down, you also need to make sure you are smoothing the back edge of the neckband up from where it is sewn to the gathers of the cape.
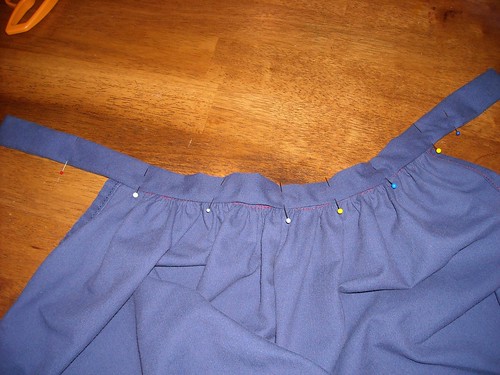
11. Next is topstitching. Topstitch around the whole neckband, starting at the right side of the neckband with your folded and pinned edge on top. Topstitch the gathered edge that you pinned first, and then continue around the rest of the neckband.

12. Here's what it should look like with the topstitching all finished.
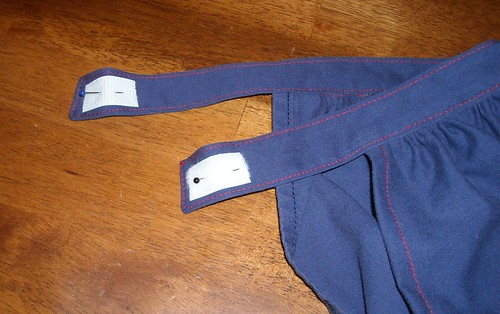
13. Cut some hook and loop tape, about 1" or 1 1/4" long. The edges of the neckband need to overlap, so pin the loop side of the tape on the front of the neckband, and the hook side on the back.
14. Use a zigzag stitch to sew the hook and loop pieces to the neckband.
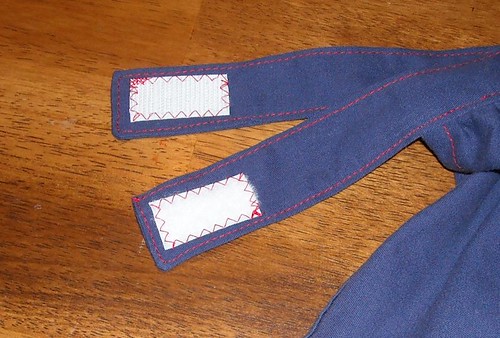
15. You're done!

5 comments:
Very cute! I'm going to post a link over @ Sew What!
I think I see many of these in my future!
Awesome tute! Thanks for sharing!
Thanks so much, between me and my sister, we can figure this out. also, thanks for the tip to use old bed sheets. genius!
Fun tute! My girls would love these!
Post a Comment