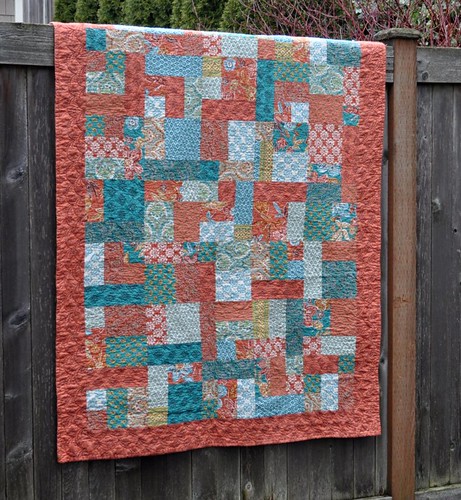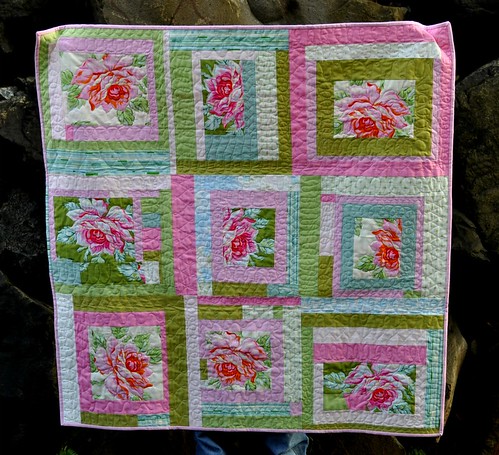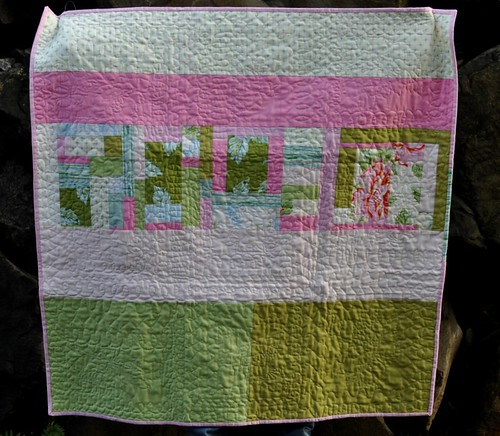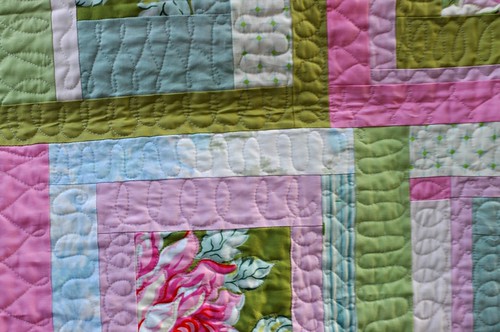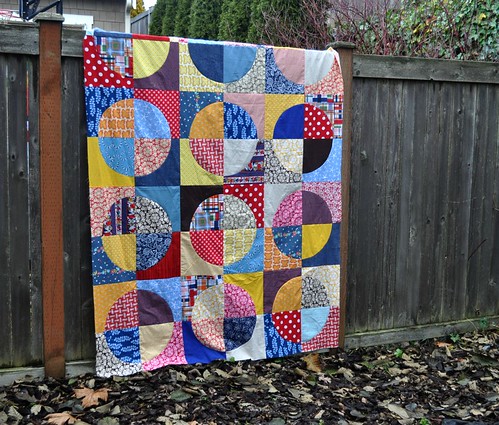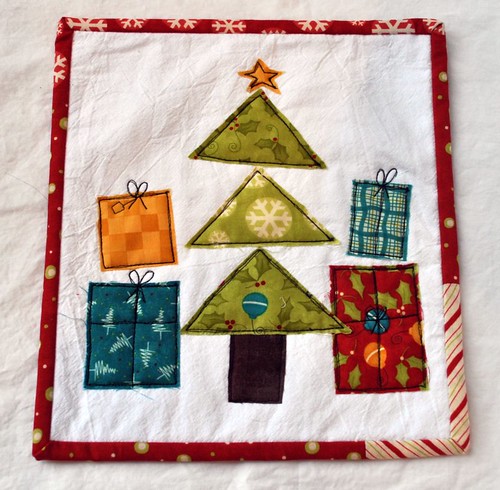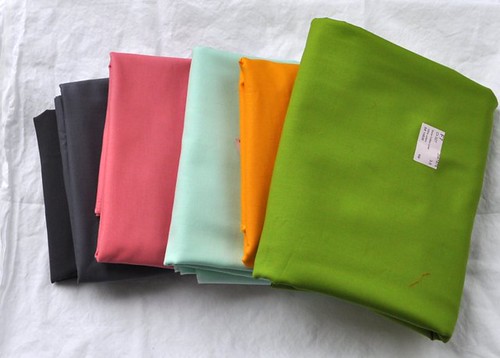
Welcome to Focus on Free Motion Quilting! I decided to host this series on my blog a few weeks ago, hoping that a few people who have been wanting to learn how to free motion quilt, or improve their free motion quilting skills, will feel like they have the information they need to get started. And then maybe practice and get better at it. Free motion quilting can be intimidating when you are new at it but it's something that I believe anyone can learn, if you're willing to put in the time to practice! So, for the rest of January here at Sew Inspired Blog we will work on learning how to start free motion quilting and improve our quilting. I have some wonderful guest bloggers lined up that will share their tips and tricks for free motion quilting and there will be some really cool prizes at the end of the month for those who complete a project that is free motion quilted with a home sewing machine.

To begin, here's a list of things you need to have on hand to start free motion quilting.
*Quilt sandwich (two layers of fabric with batting in the middle)
*Quilting pins for basting (or you can use spray baste or fusible batting, or even baste with needle and thread)
*Sewing machine with free motion quilting foot or darning foot
*Thread
*Quilting gloves--you can buy gloves specifically for quilting or use clean gardening gloves if they have plastic grippy stuff on them. I've also used disposable cleaning gloves for quilting when I was at my mom's house and didn't have my regular quilting gloves on hand.
Here is a basic practice quilt sandwich prepared for quilting:

To set up my sewing machine, I thread it, attach my darning foot, and lower my feed dogs. I have only quilted with my feed dogs down, but Leah from the Free Motion Quilting Project has written about why it's ok to quilt with them up. This is something that it's totally ok to experiment with, especially if you have a sewing machine that doesn’t have feed dogs that drop. Go ahead and try quilting with them up and see what happens.
Free motion quilting is basically like drawing on your quilt using your needle and thread as the pen and your quilt as the paper. The difference is that you move the fabric, which would be like moving the paper if you continue the pen/paper analogy. So here's what you need to do to start quilting:
Put your fabric under the needle, lower your presser foot, and using the hand wheel take one stitch down and up. Gently tug on the top thread and pull the bobbin thread to the top of your quilt sandwich. Take about 3 stitches in one place to anchor your threads. Now you can start quilting. Put on your quilting gloves and remove any pins that are very close to your needle, and start stitching!

I suggest trying stippling or loops to start. Stippling is just nice smooth wavy/bumpy lines that fill a space, typically without crossing over previous stitching. But don't worry about that for now. Experiment with different speeds with your foot pedal and moving the quilt sandwich slower or faster with your hands. You might find that you need to make the machine go faster, or your hands slower, than you originally thought. Try to get your stitches a uniform length, not too short and not too long.

Other things you can try are writing your name in cursive or doing wavy lines or loopy lines. Just practice, and know that your quilting will improve the more you do it. I did my first free motion quilting over 11 years ago and I am still improving with every project I make.
If you want to read a more detailed free motion quilting tutorial, here's the one I wrote up over 4 years ago. I was using my older machine to quilt then and this tutorial also has information about how I roll up larger quilts to do the quilting. I know some people don't like to roll their quilts, but it works well for me.
So here's the plan for the rest of the month:
*There will be one Focus on Free Motion Quilting post from me and one from a guest blogger each week.
*I welcome your suggestions and/or questions about free motion quilting. Feel free to ask questions or add suggestions in the comments, and if you want to write your own blog post about free motion quilting, please send me a link. I'd love to read it, and share it with those who are following along here.
*You can use my button in the right sidebar if you want to link to Focus on Free Motion Quilting on your blog.
*Be thinking about what you want to do for your free motion quilted project for the prize drawing at the end of the month. It needs to be finished this month but can already be started if needed. The project could be a small mini-quilt or a large quilt, or something in between, it’s up to you. Over the next few weeks, I will share some projects that I think would be good for beginning or improving free motion quilting skills.
*About the prizes--there will be a link-up at the end of the month where participants can link to a blog post or flickr photo sharing their completed free motion quilted project. The link-up will be open for 24 hours and then winners will be chosen randomly from those who enter.
*I will update this post with links to all the future Focus on Free Motion posts so they will be easy to find.
Finally, I want to thank the sponsors who have donated generous prizes!

The prize from Connecting Threads will be a set of four cones of Essential Pro polyester thread in Natural.

Hawthorne Threads is providing a gift certificate for $50 to their shop.

And the prizes from Fat Quarter Shop will be three $50 gift certificates to their shop!