Wednesday, January 30, 2013

Completed King Size Quilt

This past week I finished up the binding and hand quilting on my king size quilt. I was hoping to be able to take photos outside but I need helpers, dry weather, and good light all at the same time to make that happen, and that might not be possible for a while. So for now, here are photos of it inside.

king quilt 1
I had to look at photos of the finished quilt top to remember which way I had decided was the top.

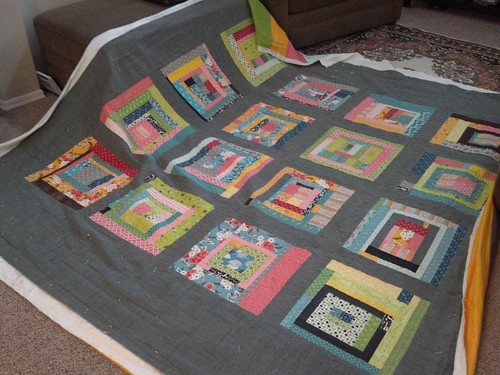
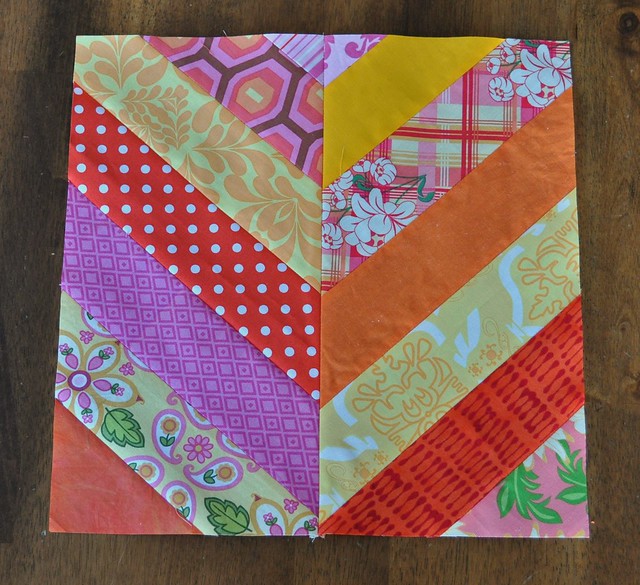
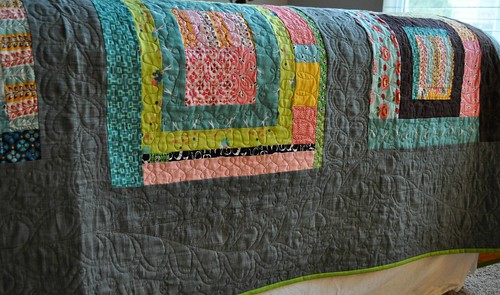
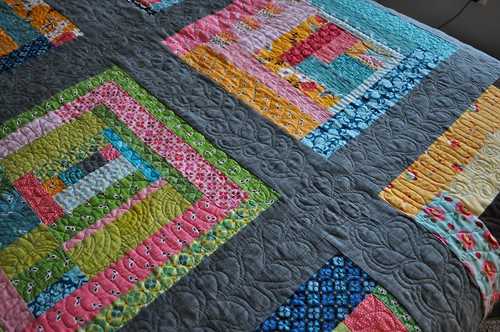
The quilt consists of 16 improvised log cabin blocks that are near 16" square. I used flea market fancy fabrics and other fabrics that coordinated with the FMF. The fabric used for the sashing and borders is Moda crossweave. 

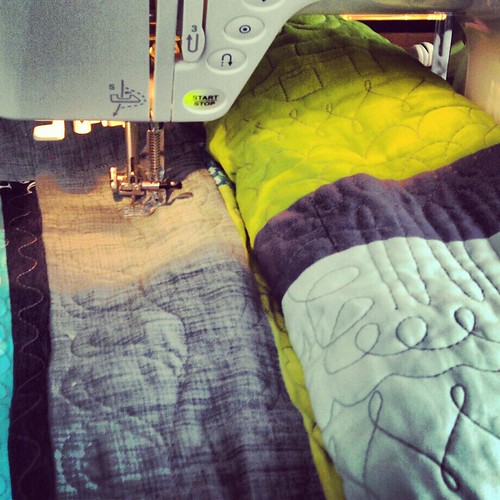
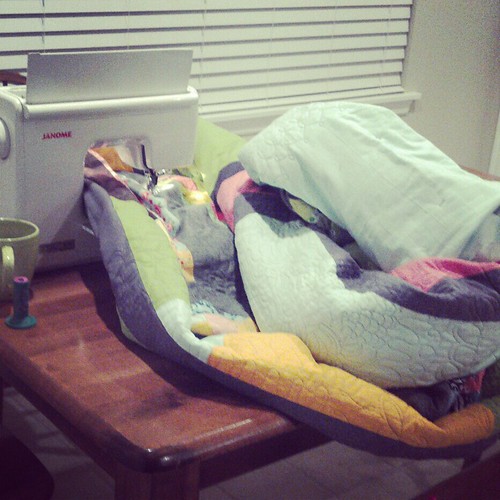
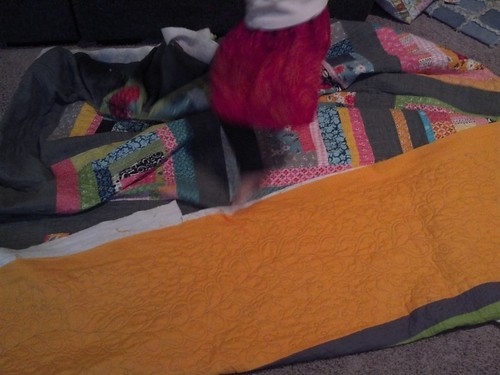
I machine quilted the quilt on my Janome QC 4900. There are a few pops of hand quilting too. The main trick for machine quilting this quilt (around 96" x 104") is to not put all the batting in at first.

*For my first chunk of quilting on this quilt, I pin basted a piece of batting that was as wide as the two center rows of blocks, plus about 4 inches on each side. Depending on the design of the quilt, it would be good to try to divide the quilt into thirds and put the middle 1/3 of batting in to begin with.
*Then I machine quilted that section, leaving the 4 inches on each side, and the borders, unquilted.
*Next I attached batting to one of the sides, pin basted the batting in, and quilted it. (But not the borders.) This tutorial of mine shows how my grandma taught me to piece batting and that's how I attached the batting during this process.
*Then I attached the batting to the other side and quilted the blocks and sashing on the other side.
*The final step was quilting the whole border, which wasn't really difficult at all because I didn't have much quilt to the right of my sewing machine needle.

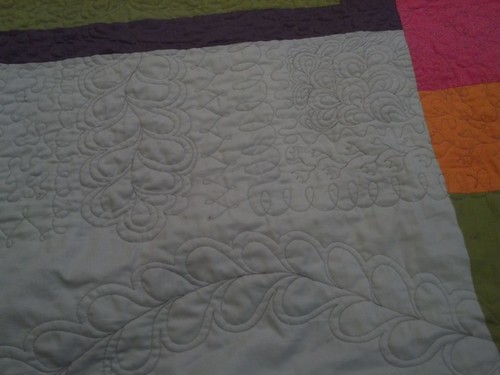
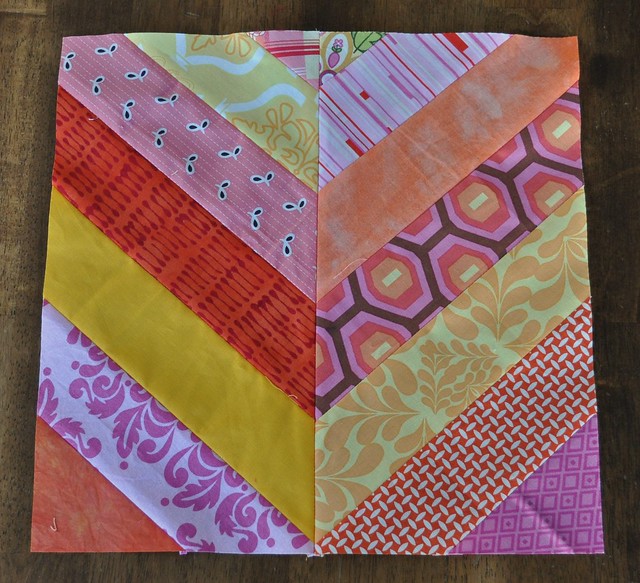
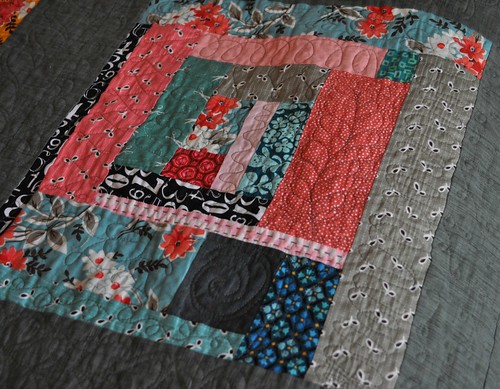
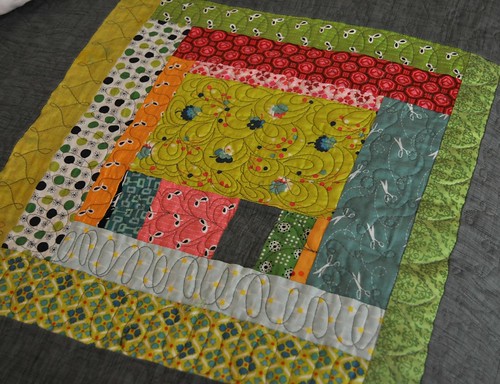
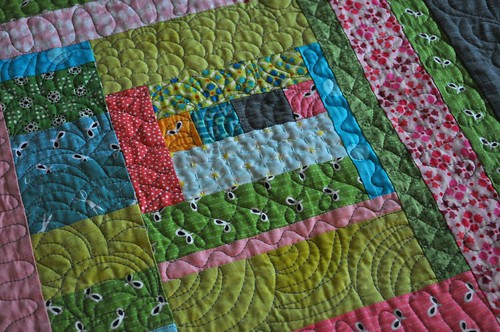
Here are a few close-ups:

king quilt detail 1
I quilted feathers with echo stitching in the sashing and borders. In the borders, the space around the feathers is quilted with small loopy quilting. I thought about doing something fancier, but decided to make it easy on myself at that point.

king quilt detail 2
I like the pink/blue/gray color scheme of this block.


king quilt detail 3 
I quilted this block after I learned to do the clamshell/paisley quilting design.

king quilt detail 4 
The feathers and the flowers I put in the feather intersections show up pretty well here.

king quilt detail 6 
This one has a lot of texture, plus it shows one of the little hand quilted spots in the quilt.

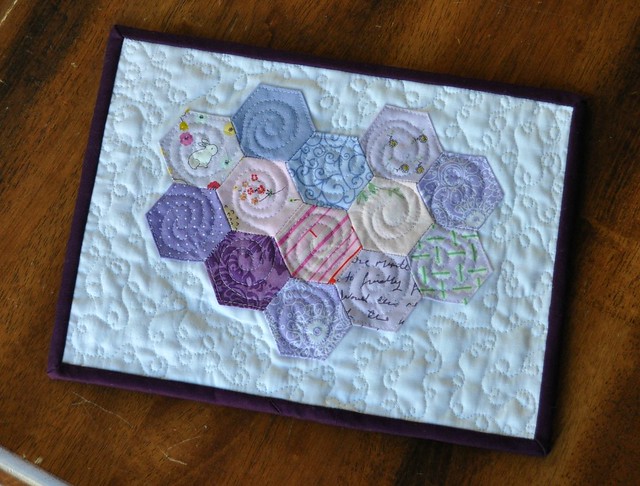
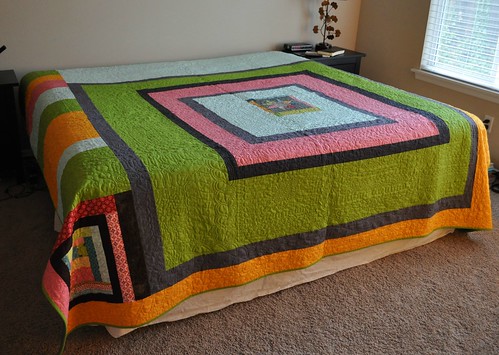
The back of the quilt:
king quilt back 1 
Mostly kona solid fabrics, with a couple of extra blocks. We can reverse it if we get tired of the front, I suppose.

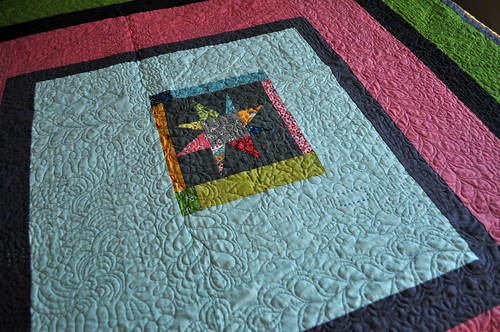
A closer view of the little block in the center of the back: 
king quilt back 2 

I'm really happy to have this project completed and on my bed! I'm not sure I'll make another quilt this big for quite a while, but I'm glad I made this one and I feel like I learned a lot along the way. 

Other blog posts about this project:
http://www.sewinspiredblog.com/2011/05/blocks-flea-market-fancy-improv.html
http://www.sewinspiredblog.com/2011/05/improv-block-progress.html
http://www.sewinspiredblog.com/2011/06/last-3-blocks.html
http://www.sewinspiredblog.com/2011/06/king-size-quilt-top-finished.html
http://www.sewinspiredblog.com/2013/01/machine-quilting-king-size-quilt.html

Friday, January 18, 2013

Machine Quilting a King Size Quilt

The last couple weeks I've been pushing hard to finish up my king size quilt. I made the quilt top in the spring of 2011 as part of a Naked Bed Challenge on twitter. I got the quilt backing made soon after we moved into the house here in Washington, at the end of 2012. (I don't think I've taken a picture of the back yet, though.) I started the machine quilting at that time too, but lost steam on it and put it away for a while. Then, I was getting all gung ho and ready to finish it up around the end of June, right before I hurt my finger and had to take an extended break from sewing.

So anyway, finishing the quilt is on my sewing list for January, and I'm getting really close! I've been taking photos and posting them to instagram as I go; if you are on instagram and want to follow me, my username is VickiDJL. Here's a recap of the last few days of work:


Quilting a feather in the sashing. 
Machine quilting 

Ironing the quilt back to prepare for adding in the last section of batting. I lowered my ironing board to about 18" tall to do this. It was silly. I'll explain how I did the batting more completely when I blog about the finished quilt.
 silly, huh? 

Quilt all rolled up while I was quilting the last section of quilt blocks (the green mug is my thread stand):
 quilting a king size quilt 

Center section all quilted, borders still need to be quilted: 
 just borders left to quilt 

Reverse view of some of the quilting. The big feather at the bottom is part of the border: 
 machine quilting 

More of what the border quilting looks like, from the back: 
machine quilting, reverse of border 
The border fabric on the front and thread are both gray and the quilting doesn't show up well, especially in the evening after the sun has gone down. So I flipped over the border for this picture, and then had a dancing girl who wanted to be in the photo too. If you look closely, you can see the loopy quilting I'm doing as filler around the big border feather. 

I have all the border feathers finished, and just need to finish adding in loopy filler quilting on two more sides of the quilt, and then the machine quilting will be done. There are a few more sections of hand quilting to do, then binding and labeling, and then it will be completed!

Tuesday, January 15, 2013

New Year Sewing

I've been busy sewing the last couple weeks.

I finished this mini heart hexagon quilt:

hexi heart quilt 
This is going to be sent to the Alzheimer's Art Quilt Initiative. I'm planning to make a couple more quilts for them in the next few weeks and then send them all in together. If you haven't made a quilt for AAQI yet, think about it. They sell/auction mini quilts to raise awareness and to fund Alzheimer's research, and they accept quilts no larger than 9" x 12" so it's not really a big commitment to make a quilt and help them out.

****
I already finished my do good stitches blocks for January. Crazy, huh?

chevron block 2

chevron block 1
 These chevron blocks were made using the herringbone block tutorial from Bijou Lovely.

A couple of other small things:

new skirt for Molly 
My little girl helped me make this skirt for her doll, Molly. (She pushed the foot pedal on the sewing machine.) I have "1 or 2 doll clothes items" on my January to-sew list and this was fun and quick to make. 

new ironing board cover 
And we had been needing a new ironing board cover for a while. I got the fabric at Ikea a couple weeks ago. I used an old towel (trimmed and edges zigzagged) and one layer of cotton batting (scraps I sewed to fit the ironing board) for the padding. I looked at this tutorial on Moda Bake Shop and decided to follow the method described there for finishing the edge and making a casing (even though I didn't make a quilted top like they did there). I just used kitchen string to adjust the cover to fit; it worked great!

Monday, January 07, 2013

Pettiskirt!

I sewed this pettiskirt for my little girl in the evenings after bedtime in the last couple weeks before Christmas.

pettiskirt 

ruffles
I followed this tutorial from the Girl, Inspired blog. Here are a few changes and other notes on the project.

*I bought my nylon chiffon from this website, and it was 54" wide, not 108" like the fabric.com chiffon used in the tutorial. That was easy to adjust for.

*I made the waistband/yoke a little longer (maybe 4.5" or 5" instead of 3". I can't remember exactly.) I also changed the top tier of the skirt to 6.5" wide instead of 6". I wanted more of a size 4/5 skirt instead of a 3/4.

*I omitted the lining layer. I was in a hurry, and it was late! At least I finished it on the 23rd instead of Christmas Eve. I could still add a lining, but I probably won't. The skirt is fine without it.

*I got a generic ruffler foot from amazon and it worked pretty well. It didn't fit my machine perfectly, and it did occasionally make my needle screw come loose and then things would make loud clunking noises, but as long as I kept checking that and tightening it, it worked fine. 

*One other thing I would change, if I make another one, is to use matching thread. The tiers are stitched with white thread and then I serged the seams with pink. It's what I had, and this wasn't thought out very far in advance of when it needed to be done, but next time I think it will look better with matching thread.

Here's an action shot!
pettiskirt action shot