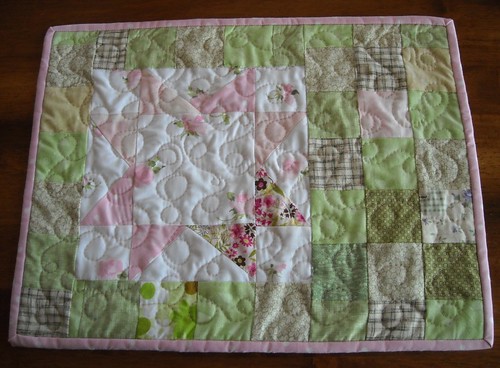
Thanks so much to Amy for hosting the Blogger's Quilt Festival!
I started this quilt in early 2002, late to the Y2K charm square swapping party. Back then, there weren't really any quilt blogs but quilters were hanging out on quilt message boards on sites like quilting.about.com. Lots of quilters were swapping 2 1/2" or 3" charm squares in order to make a Y2K quilt with 2000 different charms. There were even magazine articles about how to join these swaps. Mostly people would send out sets of 25 different fabrics, plus a signature square. It was a fun, and really inexpensive way to get a hold of a large variety of fabrics (this was important because we had a tight budget during those grad school years). Each swap was set up individually via email (there would be lists of people willing to swap on various websites), and a lot of people sent a little typed up biography of themselves with their squares.
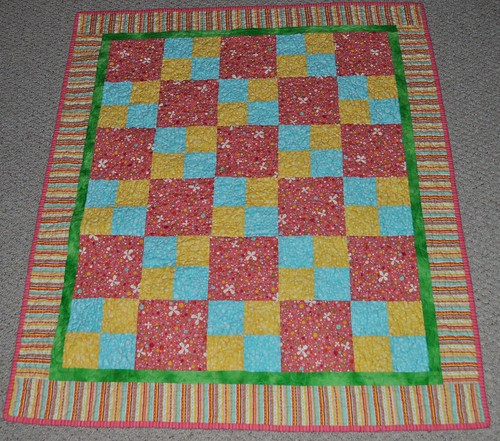
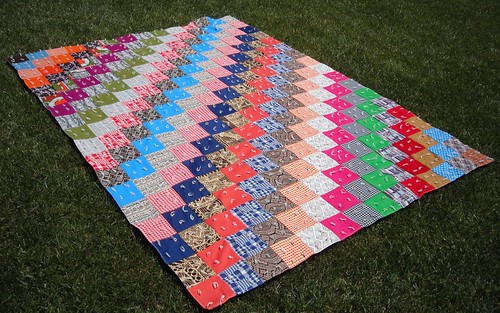
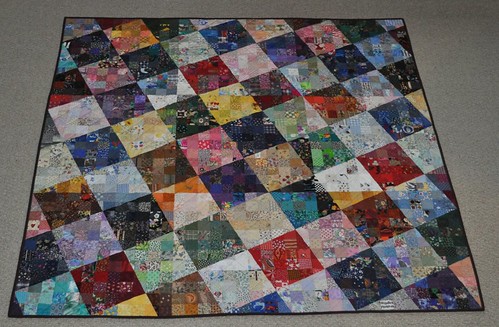
I found the pattern in the May 1999 issue of Quilter's Newsletter Magazine--it is called Colourwash Checkerboard and was designed by Deirdre Amsden. (I modified the pattern slightly for my quilt.) This back issue is no longer available on the QNM website, but you might be able to find it elsewhere. The designer wrote a book titled Colourwash Quilts: A Personal Approach to Design & Technique
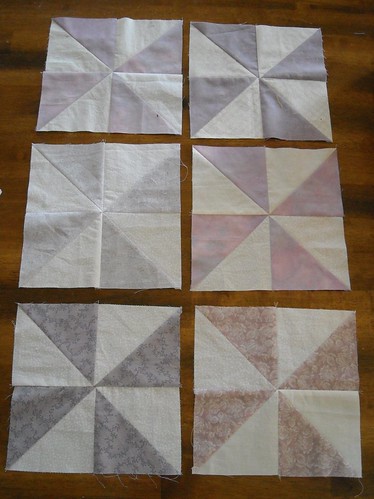
It was a really time consuming quilt to make--I cut every single piece individually--the triangles and the square-minus-triangle-chunk shape were each cut with templates, and the squares were 2 1/4" before sewing, so I had to cut each square piece down to size too. If you look closely you'll see the quilt is made of 9 sub-units, and each one is made of several different blocks of colors. I pieced each color block together first, then made the large sub-units, then pieced the whole thing together.
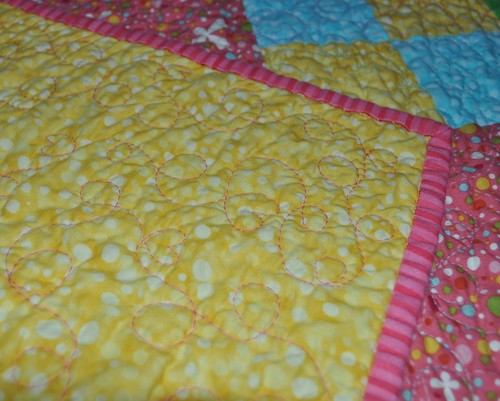
I quilted it with my old Viking 100 machine, using the walking foot with the presser foot pressure slightly loosened (having it slightly loosened made a big difference and I didn't have any problems with the layers shifting as I quilted). I used painters' tape to mark my lines, and quilted diagonally through the squares on the front of the quilt (every other diagonal row). This didn't necessarily translate to perfectly straight lines, but you can't tell that from the front.
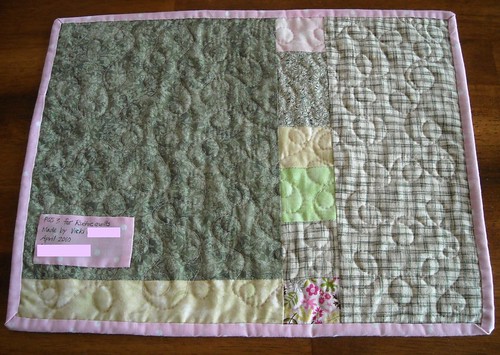
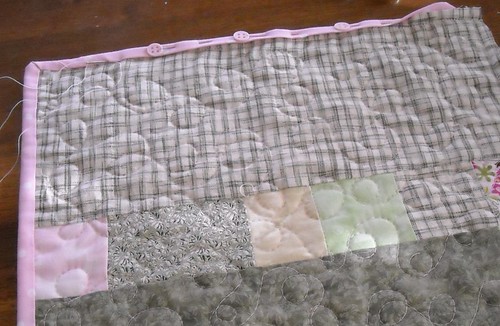
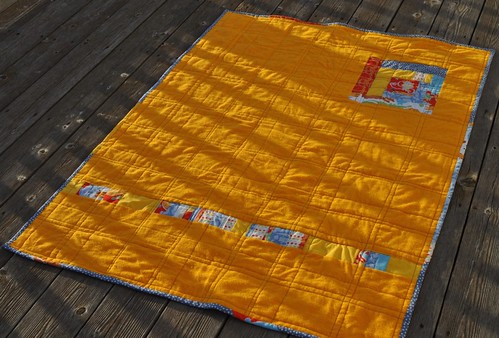
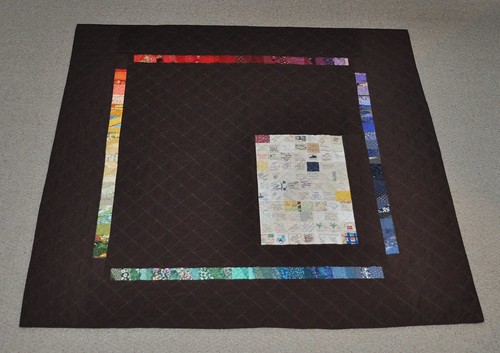
The main backing fabric is a brown quilter's only solid from JoAnn. I used this same brown on my figgy pudding Christmas quilt that was finished at the end of 2009.
Here's the signature block. I received a total of 71 signatures from 37 US states and 7 other countries.
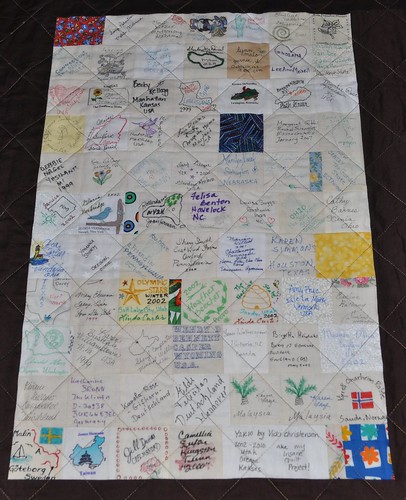
Aren't they great? I love the variety--handwriting, transfer/printing, stamps, embroidery, fabric paint.
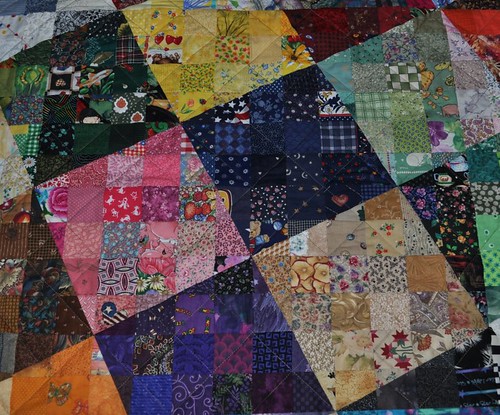
The process of making this quilt was a real education in color and value. I first sorted my fabrics by color, and then value (lightness to darkness of the color). The fabrics in this quilt were divided by their value into lights, medium-lights, medium-darks, and darks. I kept the sorted fabrics on quarter sheets of posterboard that were stacked on top of each other and stored in a cardboard box that fit the posterboard just right. This was really helpful for keeping the project all together and made it easy to take it with me too. I started the project in Utah, took it with me when we went to Oregon in the summer of 2003 for my husband's graduate school internship, continued in Utah for another year, and then brought it out here to Kansas.
Sometimes I wonder what it would look like if I hadn't sorted by color, and just done it by value. I think that if the fabrics hadn't been sorted by color first, some of the fabrics would have ended up in different value categories--I'm thinking about the yellows here. I do love how it ended up of course, but I think it would be interesting, someday, to make a "values" quilt where the values were focused on more than the colors.
Now that I'm done... for a long time I've said I would start a Dear Jane quilt as soon as I finished this one. I don't think I'm ready for that yet--maybe after I finish a few more projects!
Just in case you want to read even more about this, here are my previous blog posts about this project:
8 out of 9
and we're back
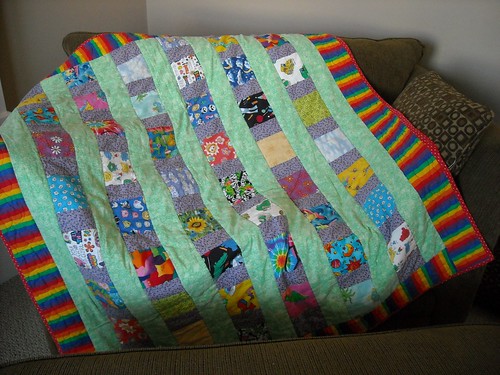
rainbow
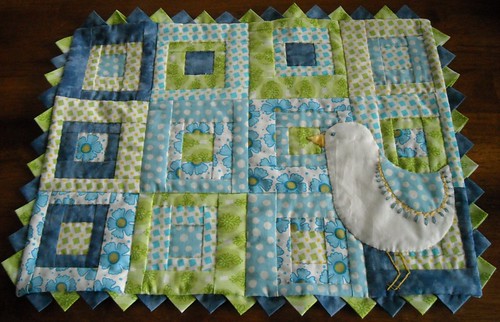
watercolor quilt back
If you have any questions about this project I'll answer in the comments! Thanks so much for stopping by my blog today, and enjoy looking at all the Quilt Festival quilts!